Followers

Saturday, 9 November 2013

A Maze of Memories challenge - Treasured Memories

Christina from A Maze of Memories has set this week challenge I thought that it would be a good idea to do something for Elliot.
 
 I have a little memory book for my cat Elliot,
who sadly is no longer with us.
The cover and pages are made from CDs. The cover CDs are covered with felt and sewn together and the inside pages are CDs are covered with patterned
papers which I have decorated.
The rick rack and ribbon are all sewn on to the felt before stitching around the CD.
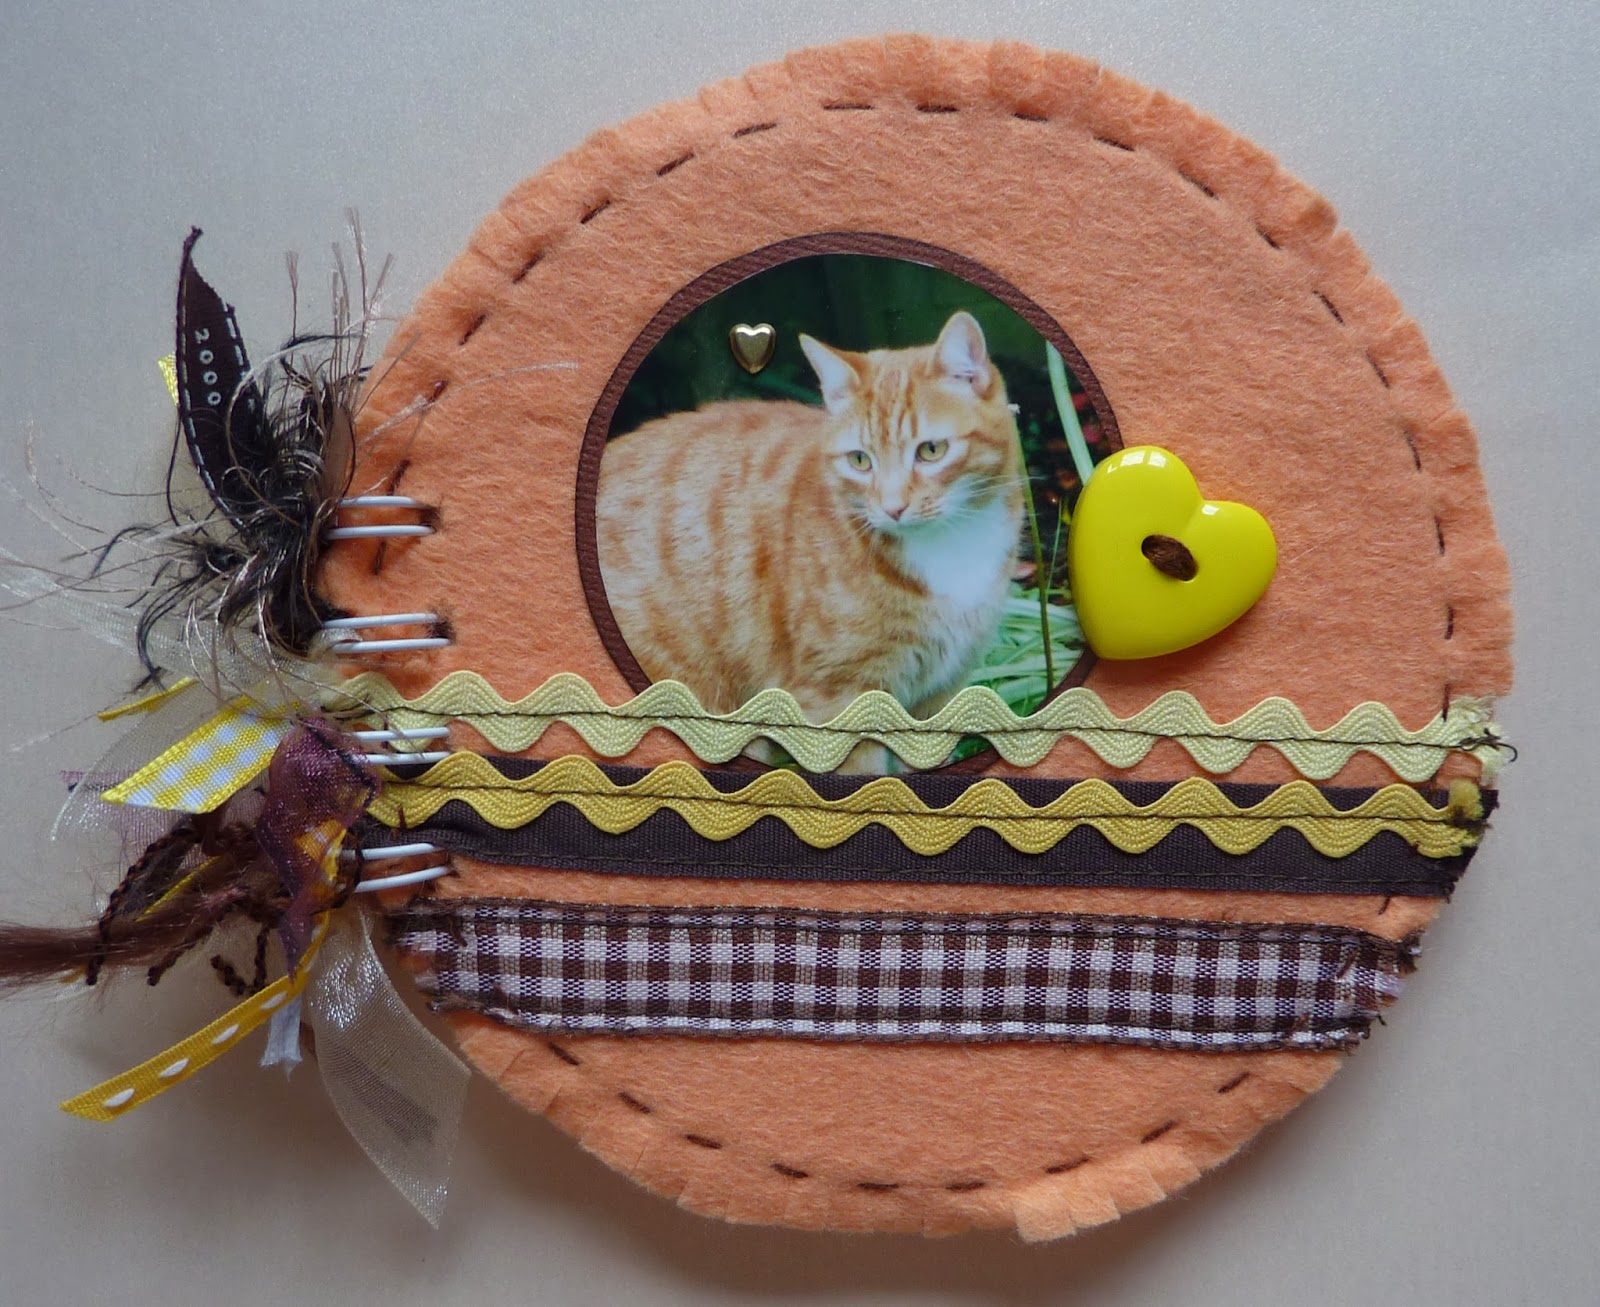
Inside the CD memory book are pages for photos
I am looking forward to my trip to A Maze of Memories in December to teach, they always have good cake!

Friday, 1 November 2013

Woodware challenge - Travel

This weeks blog post is quite apt for me this week....I traveled up to Skipton and Kendal to do a demonstration at Grosvenor Papers and could not get home by train last Monday because of the storm so stayed with Judith from Woodware at her very
welcoming home for an extra day - what a bonus!

I had free use of the fantastic craft cupboard at the Woodware warehouse so was able
to do some class prep and make this 'travel' card for the blog.

The elephant stamp is by Magenta (code CL0001). The text is from a Stampendous set (code SSC1177 butterfly charms), the post card image from the
set is perfect for the travel theme.

The word 'journey' is from a Woodware set (code FRCL026 Françoise alphabet).

I used Stampendous Pearlustre embossing powders in garnet, emerald and carnelian
to stamp and emboss the elephant.

Make the beads with long, slim, triangular shaped pieces of paper wound round a cocktail stick from the thick end to the pointed end. Roll onto an embossing pad and dip into clear embossing powder and heat to make them nice and shiny.


The beads are made from paper and covered with clear embossing powder

Tuesday, 22 October 2013

Woodware challenge...circles

These flowers are made from scallop circles nested together.

Punch three or four different sized scallop circles and ink around the edges.
Cut between each scallop but not all the way to the middle and curl each cut section with the floral punch moulding tool and mat.
Stick together and decorate the centres with smaller circles and buttons.
The greeting is from JGCL519 essential birthdays.


Wednesday, 16 October 2013

Woodware sketch challenge 27


Here is my take on this weeks Woodware sketch challenge using my

Nordic dove JGS176 stamp.

Sometimes you need a quick Christmas card design that enables you to

make lots as simply as possible.

I've used some washi tape instead of ribbon for a splash of colour and

added glitter glue to the stamped image for a festive touch.


Thursday, 10 October 2013

Monotone Christmas.....

What could be better than an all red card to show off this weeks
Woodware challenge, monotone!
I've used JGS317 to stamp the background using, you guessed it, a red ink pad!
The main image of the carol singers is from JGS315.
There are two greetings on the stamp, one for the front of the card and the other can be used in the inside of the card.
I've coloured the image with a selection of red Copic markers, red glitter glue and to finish it off a few punched snowflakes and red black spotty organza ribbon.

Thanks to CraftRange for coming up with this great challenge. It's a wonderful shop in Burnley and they have the most scrummy cafe in the shop too.


Craftrange on Facebook

Craftrange website

Craftrange Blog


Friday, 4 October 2013

Alter it or recycle it....

When I make my card samples for the Woodware catalogue I never seem to use the envelopes from the card packs. So what to do with all the left overs? 

The answer....make a book.

Use the envelopes as the pages of the book with pockets.

I made this 'birthday' book a couple of years ago and it would also make a great scrapbook for any occasion, use the pockets to hold photos, recipes, mementoes or
seed packets for keen gardeners.

Its so simple to make....decide how many pages you want for your book and find some envelopes all the same size. Seal them and cut a sliver off the tops to make the pockets. Cover each side with a patterned paper. Decorate as you wish. Punch some holes on the left side as you see in my photos.

Cut two thick pieces of card the same size as the envelopes for the covers and cover those with papers. Punch holes in the sides in the same place as the holes on the envelopes and use the big Woodware book rings to keep it all together. Decorate with ribbons.
I've made 12 big tags to go in my envelopes with each month of the year written on the top.

The finished 'birthday' book
Decorated with punched flowers, ribbon and hand written quotes
The tags all have a ribbon attached so I can get it
out of the pocket easily
Punch a half circle in the tops of the pocket
to make it easier to pull out photos, etc

Saturday, 28 September 2013

Look what I did with my Magic Stamp....

I cut up my Magic Stamp block into different sized squares.
I then used some Woodware flower buttons to create the pattern
on the heated Magic Stamp.
Using coloured ink pads, ink up each square of the Magic Stamp and create a nice background and focal square for your card.
Stamp a greetings and add some of the buttons which have been tied with green narrow ribbon to the square


Tabitha looking cute

Tabitha looking cute
Look, I’ve just caught you another mouse!